
The Perfect Blouse: Attach the Collar Band and Collar


Sandra Miller shows how to prepare and attach the collar band and collar on a traditional button-front shirt in this episode of The Perfect Blouse series. Sandra works with The Blouse Perfected, a shirt pattern from Cutting Line Designs.
Prepare the collar bands
Trace the seamline curve on both ends of the two collar bands. This traced line will be your guide to sew the seam precisely later.
Pin the collar band’s nearly straight edge to the shirt’s neckline. Start at the center back with just one side of the collar band. Match clips and dots. Then pin the second side of the collar band to the neckline and stitch the neckline/collar band seam.
Trim the seam allowances and press
Take the time to trim the seam allowances one at a time. Press just the seam and allowances. Then press the collar band sections toward the seam allowances and away from the rest of the shirt.
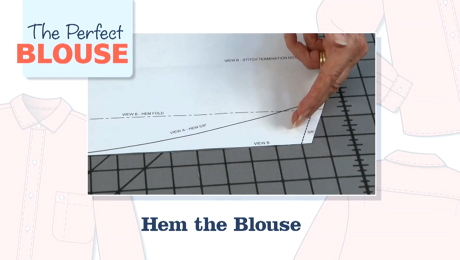
Sew the ends, trim, turn, and press
Roll the shirt front once near the seam at the curved edge and pin. Then roll the front again and pin the second roll in place. Turn the collar bands down and pin them, with right sides together and the dots matched.
Use a short stitch length to sew the curved portion of the collar band, following the traced line made earlier.
Trim the seam allowances along the sewn curved section, and clip through the allowance to the dot.
Turn the collar band right side out by removing the two pins and gently pulling the rolled front section out.
The point turner can help coax the curved corner out. Press.
Make a mandarin collar
You can make the shirt with a mandarin collar rather than the traditional collar.
Press under a 5/8-inch seam allowance…


Log in or become a member to post a comment.
Sign up Log in