
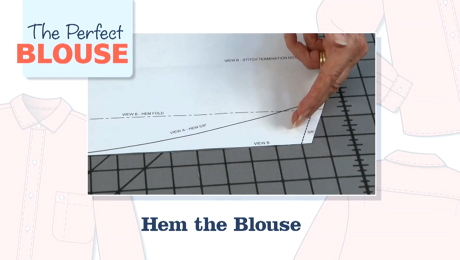
The Perfect Blouse: Install the Sleeves


Discover one effective method to join two opposing curved edges when you install the sleeves on a traditional shirt. Sewing instructor Sandra Miller walks you through the process in this episode of The Perfect Blouse series. Sandra works with The Blouse Perfected, a shirt pattern from Cutting Line Designs.
Measure the sleeve length
Sandra explains how to measure your arm to get an accurate sleeve length.
Then write down the measurement and check to be sure the pattern is the right length. To do this, you need the shirt sleeve, yoke, and cuff pattern pieces. Overlap the yoke and sleeve at the 5/8-inch seamline and line them up at clip markings. Note the length, and then add the cuff width measurement minus the seam allowances. This is the pattern’s total sleeve length.
Pin and set the sleeve cap
The armscye and the sleeve cap have opposing curved edges. Sandra walks through how to pin these two edges together.
Match and pin the clips at the shoulder, then match and pin the clips at the sleeve front, followed by the underarm dots. Then match and pin the dots on the seam’s other end.
Continue pinning between these markings on the sleeve cap and armscye. It’s best to insert the pins at the 5/8-inch stitching line, while grabbing only a small amount of fabric. Sandra shows how to drape the fabric while pinning in order to match the two sides.
Once carefully pinned, stitch this sleeve seam 5/8 inch from the raw edge. Start stitching 2 inches from the stitch termination dot and end the stitching 2 inches short of the stitch termination dot on the opposite end.
Sew the underarm sleeve seam
Press the armscye seam allowances toward the sleeve, preferably over a pressing ham, a tool that makes it easier…


This is the only episode that will not load. error message says video cloud error.
Thank you for letting us know! We have fixed the glitch. It should load and open now without any problems. Enjoy. - Jeannine Clegg, Threads