
The Perfect Blouse: Attach the Cuffs


Learn several important pressing and trimming techniques to attach the cuffs precisely on a traditional shirt. Sewing instructor Sandra Miller demonstrates the method in this episode of The Perfect Blouse series. She works with The Blouse Perfected, a shirt pattern from Cutting Line Designs.
Prepare, press, and trim
After reviewing the markings on the cuff pattern piece, Sandra explains why to first stitch the side of the cuff that is not interfaced to the sleeve. Then attach the interfaced cuff section. Be sure to follow the markings. Press the seam flat before grading the seam allowances.
Sandra demonstrates key techniques for trimming and grading, including one for the curved sections that she calls “creating Christmas trees.” Then press the trimmed seam allowances open on a point presser.
This is detailed work, but it is essential for bulk-free, smooth results.
“Sometimes you have to do a few steps in a process, and it may seem as though this is going to take construction of the garment longer,” Sandra explains. “If you prepare each step correctly, it is going to end up being easier in the long run.”
Press the seam and edgestitch
Turn the cuff right side out and favor the seam to the inside of the garment. Press.
On the open edge of the cuff, turn under the 5/8-inch-wide seam allowance and press. Sandra offers more tips on pressing this edge in place and grading the seam allowance.
To edgestitch the cuff, turn the sleeve inside out. Start in the center of the cuff. This is a similar process to edgestitching the collar and collar band, as explained in two earlier episodes: “Construct the Collar” and “Attach the Collar Band and Collar.”
Coming up
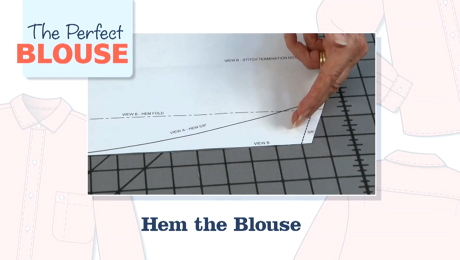
Once you attach the cuffs, you can hem the shirt. Sandra walks through the process in…


This is a fantastic video series packed full of details and tips for sewing a professional looking garment. For the cuff video, I do wish she had shown the full cuff assembly instead of just telling us what she did, but otherwise an excellent tutorial.