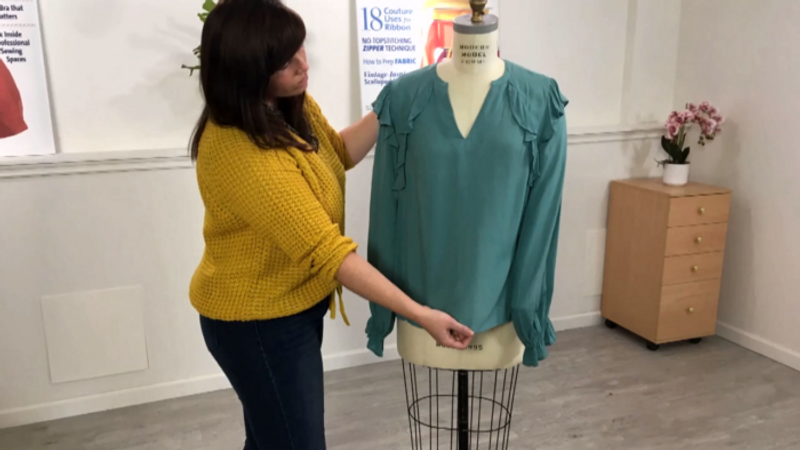
Learn an easy way to duplicate a favorite garment that has become too worn or old to wear. Turn the garment into a pattern, and you can make as many copies as you like.
Get started
Supplies
You’ll need a seam ripper, scissors, a marker, a ruler, freezer paper, and an iron and pressing surface.
Review the garment
Begin by examining the garment closely, and take reference photos to record the finished piece. Take pictures of the whole garment as well as interior and exterior details. Then mark the garment’s centers front and back, grainlines on each section where possible (you may need to do this later for some sections), dart legs and points, and any other elements you will re-create.
Take the garment apart
Then deconstruct the garment. Begin with the main seams, then work toward smaller details such as collars, cuffs, and plackets. At this point, you can add more marks if desired or needed.
Press carefully
Press each section flat, taking care not to distort any of them. For symmetrical pieces that will be cut on the fabric fold, fold along the center line and press.
Trace and cut pattern pieces
Place a garment section on the pressing surface, with the entire piece supported. Lay a sheet of freezer paper over it, shiny side down. With a dry iron, press the paper to the garment piece. Use a lift-and-lower motion so the paper doesn’t shift as you press. Check that the paper has adhered to the fabric.
Turn the paper over to expose the fabric. You may cut around the fabric’s edges, or draw wider seam allowances and cut along this new line if preferred. On the paper’s matte side, add labels, a grainline, and any other identifying information. Repeat with the remaining garment sections. When the pattern pieces are complete, peel off the fabric sections.
If you like, you can tidy up the pattern pieces and fine-tune them following key patternmaking techniques.
For Insiders:
“Universal Principles for Patternmaking”


Log in or create an account to post a comment.
Sign up Log in